You may be wondering what are nipple clamps, and whether you’ll like them (or want to spend money on them). The good news? You don’t need a specialty store to explore nipple play. With a few common household items and a little know-how, you can safely make your own DIY nipple clamps at home.
Whether you’re new to kink or looking to get creative, making your own clamps can be a fun, affordable way to try something new. But before we jump into rubber bands and chopsticks, it’s important to talk about safety. Nipple tissue is sensitive, and not all options or materials are created equal. In this guide, we’ll walk you through seven beginner-friendly methods, break down which tools are safe (and which are definitely not), and share expert tips so you can play with confidence.
Let’s start with the basics: when DIY makes sense, and when it’s better to skip it.
What's In this Article?
- Why DIY Nipple Clamps? (And When You Shouldn’t)
- The Safest Household Materials (Ranked by Risk)
- 7 Tested DIY Nipple Clamps to Get You Going
- Safety First — Use Time, Removal, and Aftercare
- Pro Tips From Sex Educators & Toy Testers
- DIY vs. Commercial — Which Should You Use?
- Final Thoughts on DIY Nipple Clamps
What
Why DIY Nipple Clamps? (And When You Shouldn’t)
There are a lot of good reasons to try DIY nipple clamps. Maybe you’re just starting to explore nipple play and want to test the waters before buying a toy. Maybe you don’t have access to a sex shop, or you’d rather keep things private. Or maybe you just enjoy the creative side of making your own toys. Whatever the reason, homemade nipple clamps can be a fun and low-cost way to explore your body and your preferences.
DIY also gives you more control. You get to choose the materials, the strength of the pinch, and how everything feels. It’s like customizing a toy that fits your body and comfort level.
⚠️ But let’s be real—DIY isn’t always the safest option.
Not all household items are skin-friendly. Some materials can splinter, rust, pinch too hard, or trap bacteria. If you’re new to BDSM or unsure how much pressure is too much, it might be better to start with beginner-friendly toys made for safe nipple play. Professionally made version are usually adjustable, easy to clean, and designed for the body—not the toolbox.
Bottom line: if you’re going to make your own nipple clips, it’s super important to know the risks, check the materials, and start gently. We’ll help you with all that next.
The Safest Household Materials (Ranked by Risk)
When you’re making nipple clamps at home, what you use matters just as much as how you use it. Some household items can create a gentle pinch with minimal risk (note: clamps versus DIY nipple suckers are very different). Others? Not so much.
To help you play safer, here’s a quick guide, ranking by safety and ease of use. Think of this as your “yes, maybe, and please don’t” chart 👇
Common Materials for DIY Nipple Clamps for Beginners and Beyond
| Item | Risk | Best For | Notes |
|---|---|---|---|
| Plastic clothespins | 🟢 | Beginners | Smooth and flexible; good tension without too much bite |
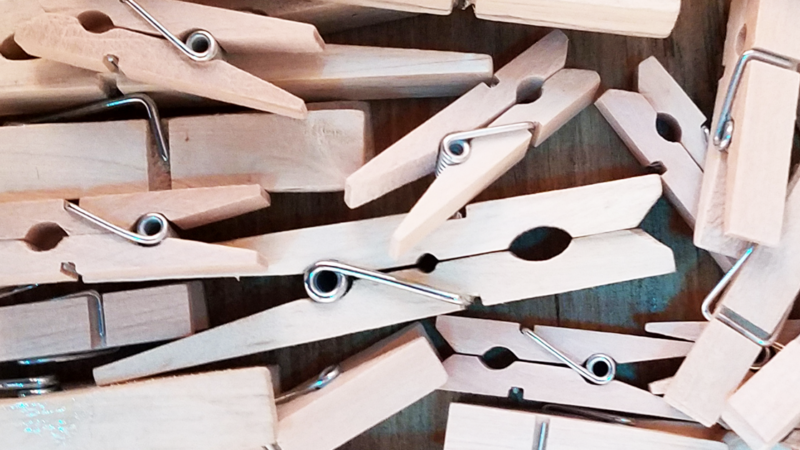
| Wooden clothespins | 🟡 | Beginners–Intermediate | Watch for splinters or cracks; test on your fingertip first |
| Chopsticks + rubber bands | 🟡 | Adjustable control | Start with low tension; smooth or sand ends if needed |
| Tweezers + rubber bands | 🟡 | Larger/flatter nipples | Easy to adjust but watch for sharp tips or rust |
| Bobby pins / hairpins | 🟢 | First-timers | Can be gentle if slid on carefully; stretch first to lower pressure |
| Binder clips (small) | 🟡 | Curious beginners | Firm grip; start small and never leave on too long |
| Shower curtain clips | 🟡 | Decorative setups | Lightweight plastic ones are safer; test grip before use |
| Fridge magnet clips | 🟡 | Light stimulation | Vary in pressure; best used briefly |
| Paperclips | 🟡 | Experimenting | Must bend carefully and smooth edges |
| Chip clips | 🟢 | Sensitive skin | Soft grip and often padded — surprisingly great for beginners |
| Elastic threaders / bodkins | 🟡 | Light grip setups | Found in craft stores, fun for gentle tugs with control |
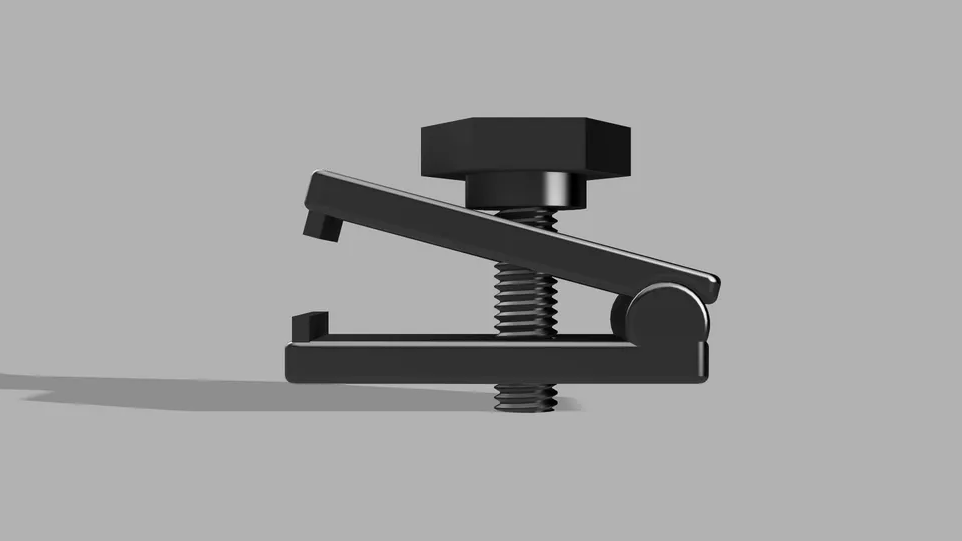
| Third-hand clamps | 🔴 | Advanced only | Strong metal clamps — not for skin without modification |
| Alligator clips | 🔴 | Not recommended | Teeth and pressure make these risky for most users |
| Screw clamps/vice grips | 🔴 | Unsafe DIY | Can crush tissue or cut circulation quickly |
You’ll probably notice that a lot of the most popular DIY clamp ideas—like clothespins, tweezers, and binder clips—aren’t marked as “low risk.” That’s because most everyday tools weren’t designed for skin contact, especially on sensitive areas like nipples.
They may work if used carefully, but they also carry risks like pinching too tightly, splintering, or losing grip. That doesn’t mean you can’t use them—just that you should understand how to test and adjust them before jumping in.
7 Tested DIY Nipple Clamps to Get You Going
Clothespins + Hair Ties
Clothespins are a classic go-to for DIY nipple clamps because they’re easy to find and apply. But alone, they can pinch too hard—especially wooden ones with tight springs. That’s where hair ties or small rubber bands come in. Wrapping them around the pinch handles helps soften the pressure or let you control the grip.
How to Use:
- Choose a smooth clothespin (plastic is best for beginners).
- Wrap a hair tie around the pinch handles (the part you press).
- Clip onto your nipple gently, adjusting the tension with the hair tie.
- Start with very short wear times—just 1–2 minutes the first time.
Safety Tip: Always check the inside edges of the pin for rough spots or cracks. Sand them down if needed. Never use if cracked or splintering.
Why It Works: The spring gives gentle but steady pressure, and adding hair ties gives you more control. It’s one of the easiest ways to test out clamp sensation without fancy gear.
Chopsticks with Rubber Bands
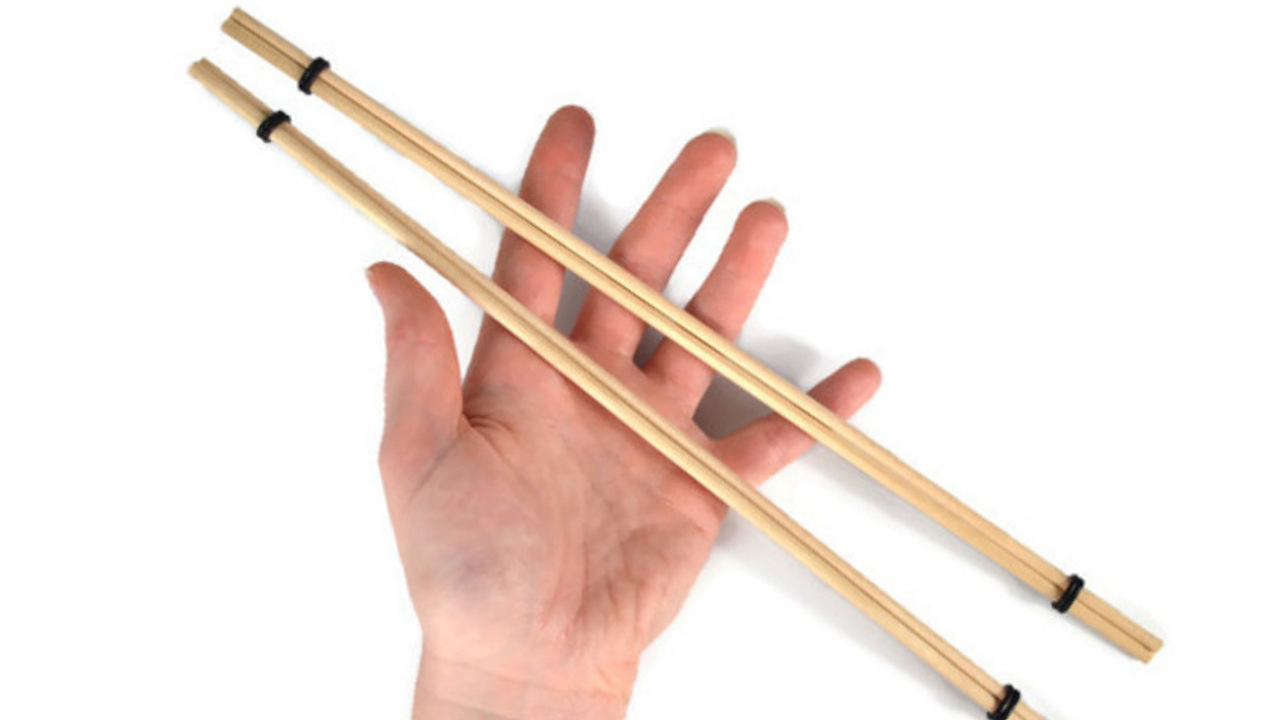
If you’ve got chopsticks and some rubber bands, you’ve got everything you need to make a simple, adjustable pair of nipple clamps. This DIY setup gives you more flexibility than a regular clip and lets you experiment with tension levels safely.
How to Use:
- Grab two chopsticks (avoid the splintery takeout kind if you can).
- Wrap a small rubber band tightly around one end of the chopsticks to hold them together.
- Place your nipple between the sticks, near the open end.
- Slide the rubber band tighter or use a second band to increase pressure.
Safety Tip: Sand the ends or edges of the chopsticks first—especially if they’re wooden. You want a smooth contact surface to avoid scratching or splintering the skin.
Why It Works: Because the pressure depends on the bands and spacing, it’s easy to adjust. It’s also super beginner-friendly, and you can take them off fast if they become too intense.
Tweezers + Rubber Bands
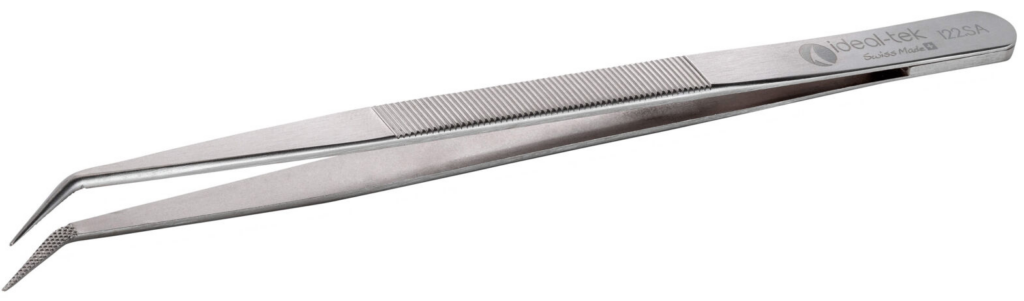
Tweezers might seem like a stretch for nipple play, but with a simple rubber band, they become a clever DIY clamp, especially for people with larger or flatter nipples who need a bit more reach or adjustability.
How to Use:
- Choose a large, flat-tipped pair of tweezers (not needlepoint!).
- Place the open ends gently on either side of your nipple.
- Use a rubber band to wrap and hold the tweezer ends together near the base.
- Adjust how far down you place the band to control pressure.
Safety Tip: Always use clean, rust-free tweezers. If they have sharp tips, don’t use them. Avoid metal ones that can bite or slide.
Why It Works: This setup lets you dial in pressure more gradually. It’s great if you want something that holds steadily but doesn’t slam shut like a spring.
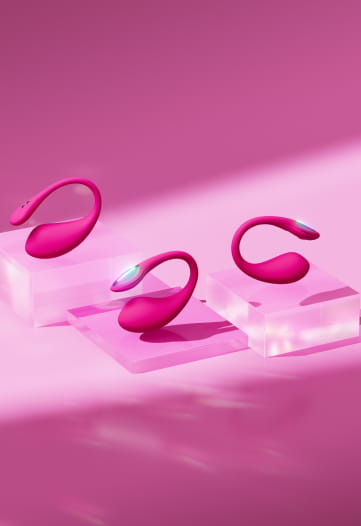
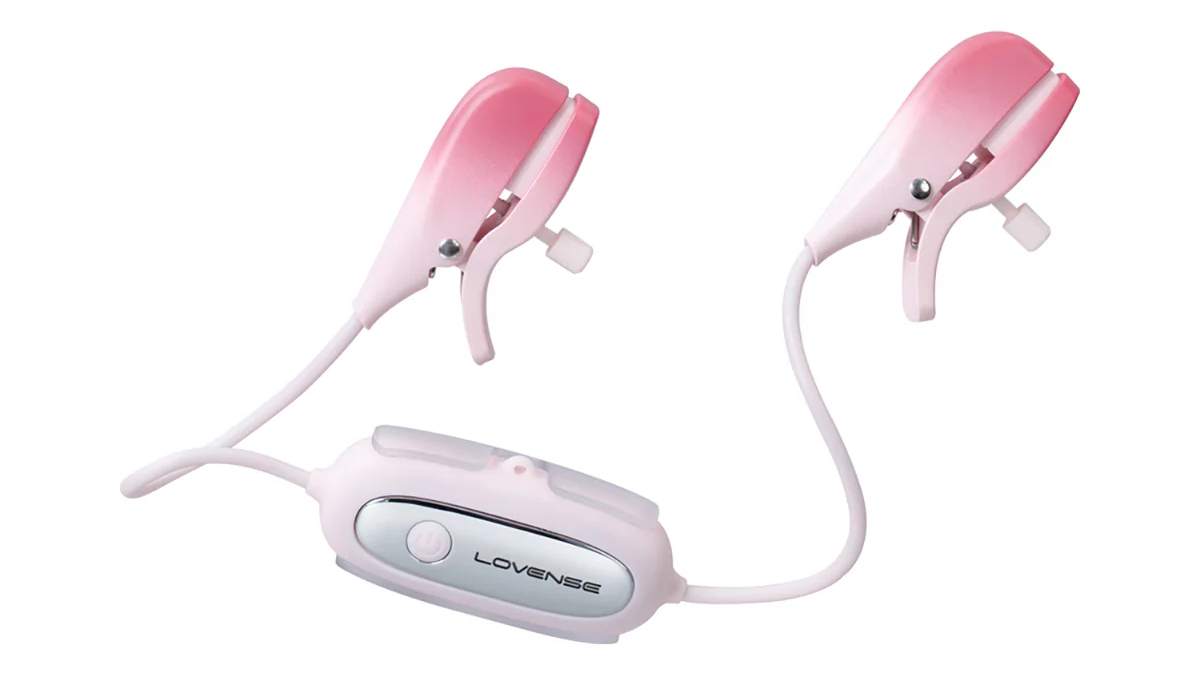
Add vibes to your sexy time. Check out Lovense Gemini vibrating and app-controlled nipple clamps.
Gemini Vibrating Nipple Clamps

- Adjustable clamps with soft silicone tips for comfort
- Powerful twin motors for intense nipple stimulation
- App-controlled with sound, touch, or partner control
- Waterproof, rechargeable, and discreet for playful wear
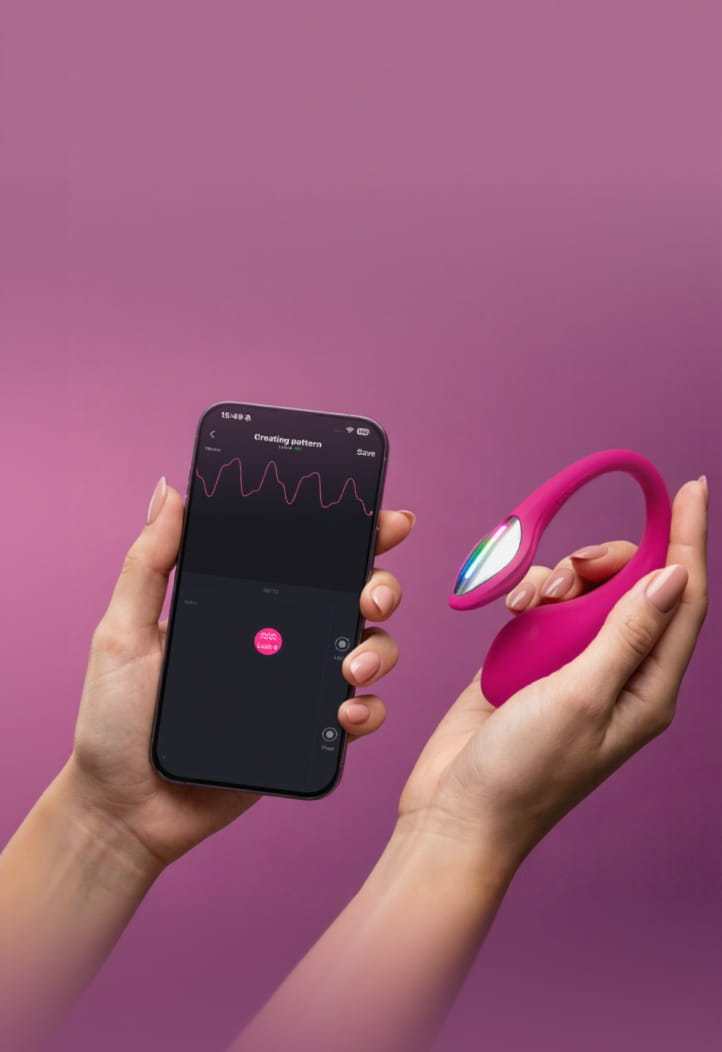
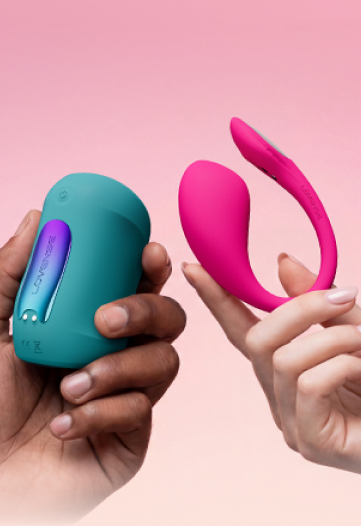
Lush 4 + Gemini Combo
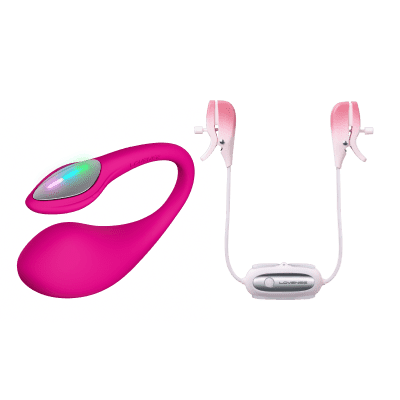
- Internal G-spot and external nipple stimulation in one set
- Hands-free control via app with unlimited pattern sync
- Use solo, with a partner, or in public for discreet fun
- Sync to music, sound, or remote control from anywhere
Paperclips o’ Plenty
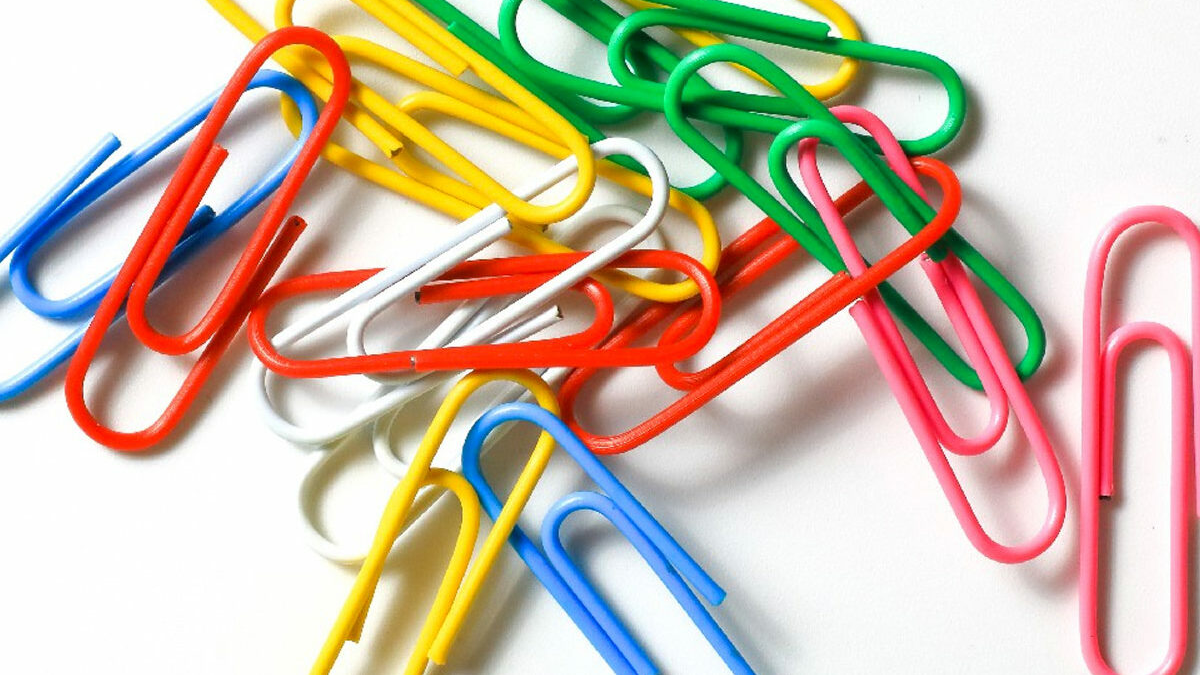
Small and flexible, paperclips are surprisingly versatile for gentle clamp play—if you reshape them right. They’re also great for people just testing out the idea before investing in a toy.
How to Use:
- Unbend a paperclip into a soft “U” shape.
- Slide it over your nipple so the two sides press gently together.
- For more pressure, use a second clip, or squeeze the bend slightly tighter.
- Optionally: string a few together for a tug-friendly chain effect.
Safety Tip: Paperclips often have sharp or jagged tips. Bend slowly and check every edge. If anything feels scratchy, don’t use it. And never yank them off.
Why It Works: They’re easy to customize and can be very gentle. Also: zero cost, zero commitment, and easy to remove if things get intense.
Bobby Pins or U Pins

Bobby pins can offer a surprising amount of sensation with minimal pressure—great for those who want a light touch or need to build up slowly.
How to Use:
- Gently pull apart the two arms of the bobby pin to reduce tension.
- Slide the pin onto the nipple from the side, positioning it closer to the tip for less pressure or farther down for more.
- Adjust or re-bend as needed before applying.
Safety Tip: Stretch the pin first to make sure it doesn’t clamp too tight. If it takes effort to slide on, it’s probably too strong. Go slow.
Why It Works: You can vary the pressure by changing the angle or distance. They’re discreet, accessible, and a lot softer than clips—perfect for building comfort.
Shower Curtain Clips
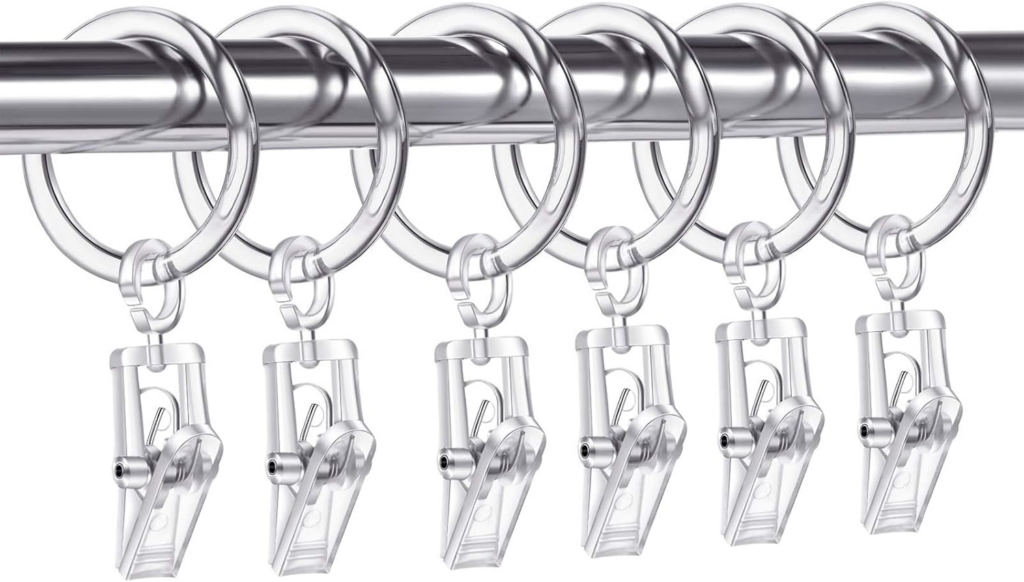
These plastic clips are light, surprisingly gentle, and often come with little hooks—perfect if you want to add chain play or a decorative element. They don’t pinch much, but they do stay in place.
How to Use:
- Choose smooth plastic clips with rounded edges (metal ones can be too harsh).
- Gently clip to the base or side of the nipple.
- For added sensation, connect a light chain or string between them.
Safety Tip: Make sure the clip doesn’t pop open unexpectedly. Don’t use anything with hard teeth or exposed metal springs.
Why It Works: This is more about tug and weight than tight pinching. Ideal for aesthetic play or light stimulation without pain.
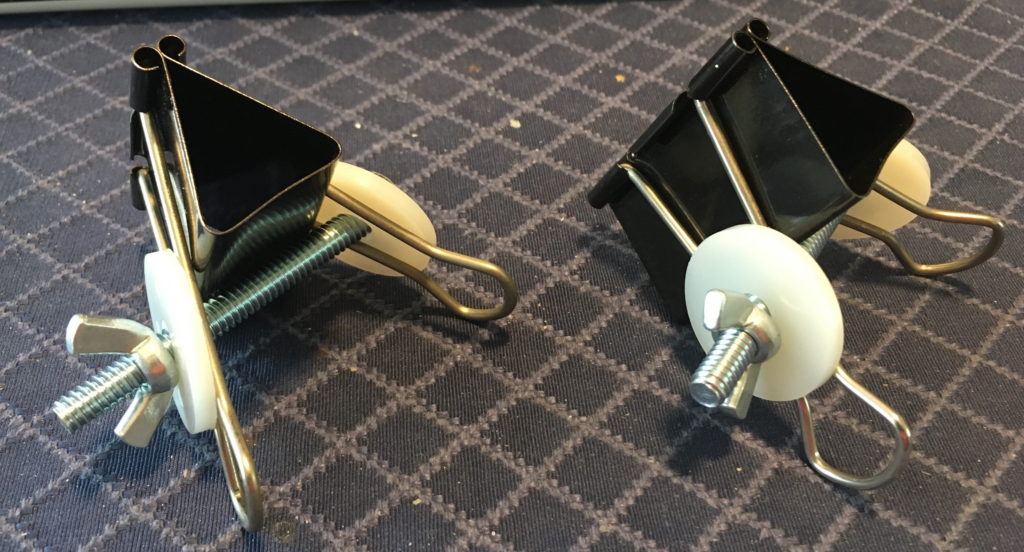
Binder Clips
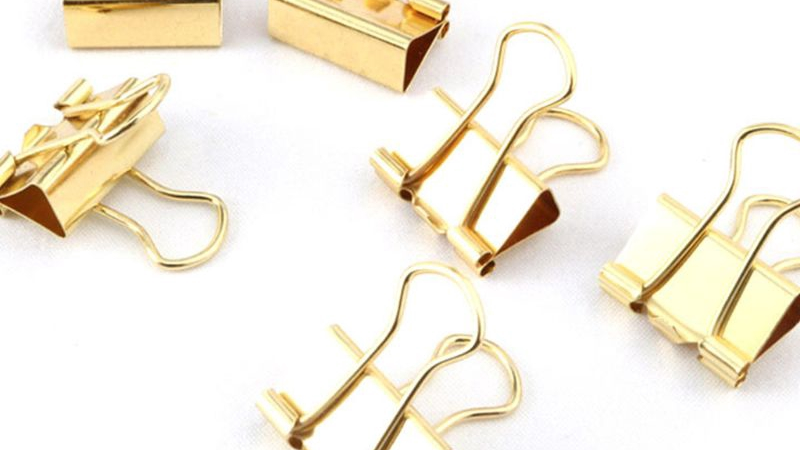
Not for the faint of heart—binder clips offer a firm, sometimes intense pinch. Smaller sizes are more tolerable, but even then, they’re best left to advanced users who know their limits.
How to Use:
- Start with the smallest size binder clip you can find.
- Gently clip it on the outer edge of the nipple.
- Optionally: attach light weights or string between clips for added tension.
Safety Tip: These can pinch very tightly. Always test on your finger first, and never leave them on for more than 5 minutes without checking. Avoid if you bruise easily or have circulation issues.
Why It Works: They don’t slip, they stay tight, and they’re easy to find—but they’re intense. Good for people who want that “bite” feeling without moving up to pro gear yet.
🔧 More DIY Clamp Ideas (Quick Suggestions)
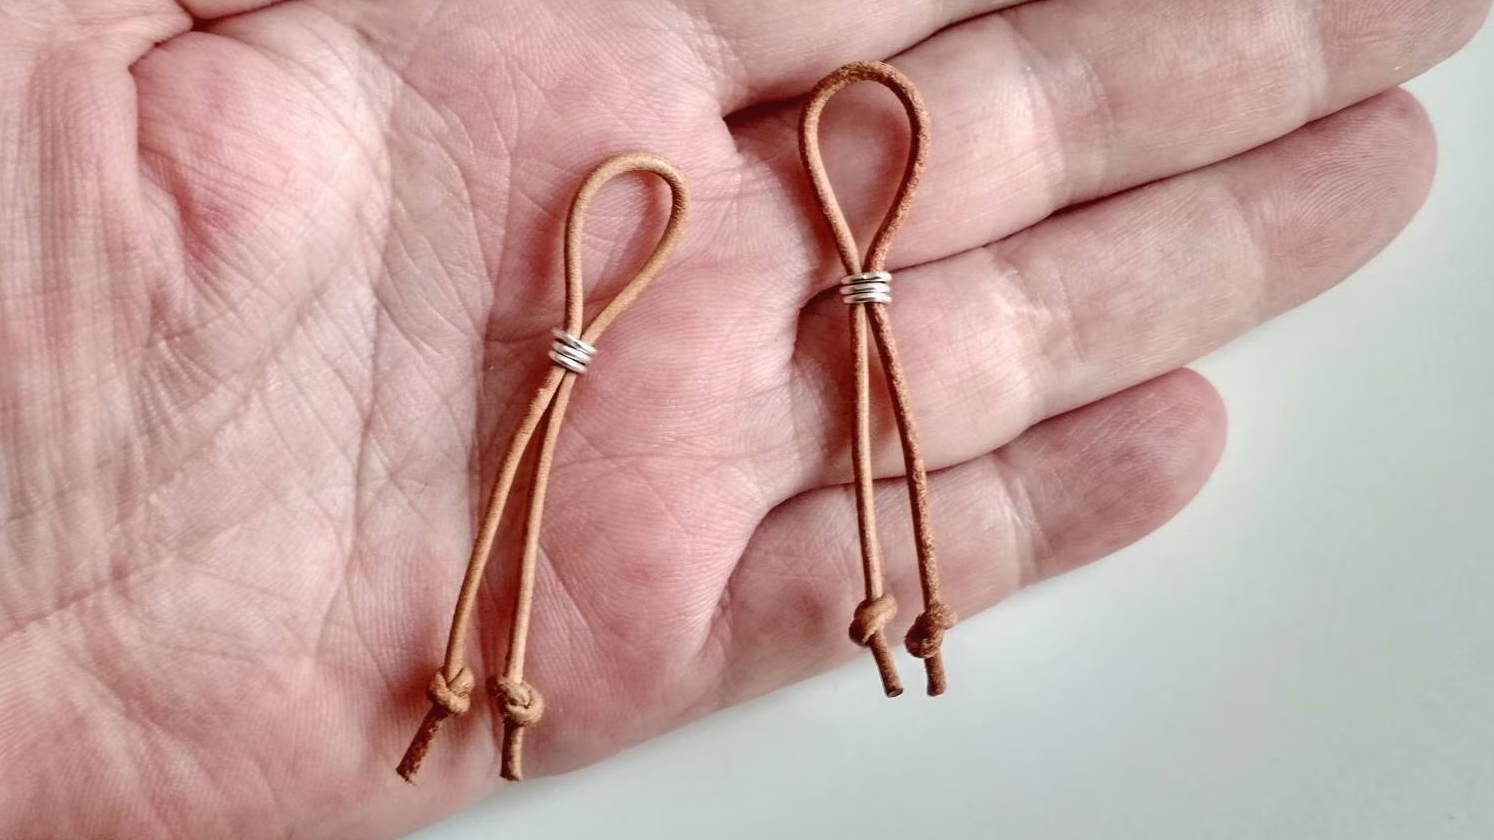
- Leather cord nooses – adjustable tension using sliding beads or wire wraps
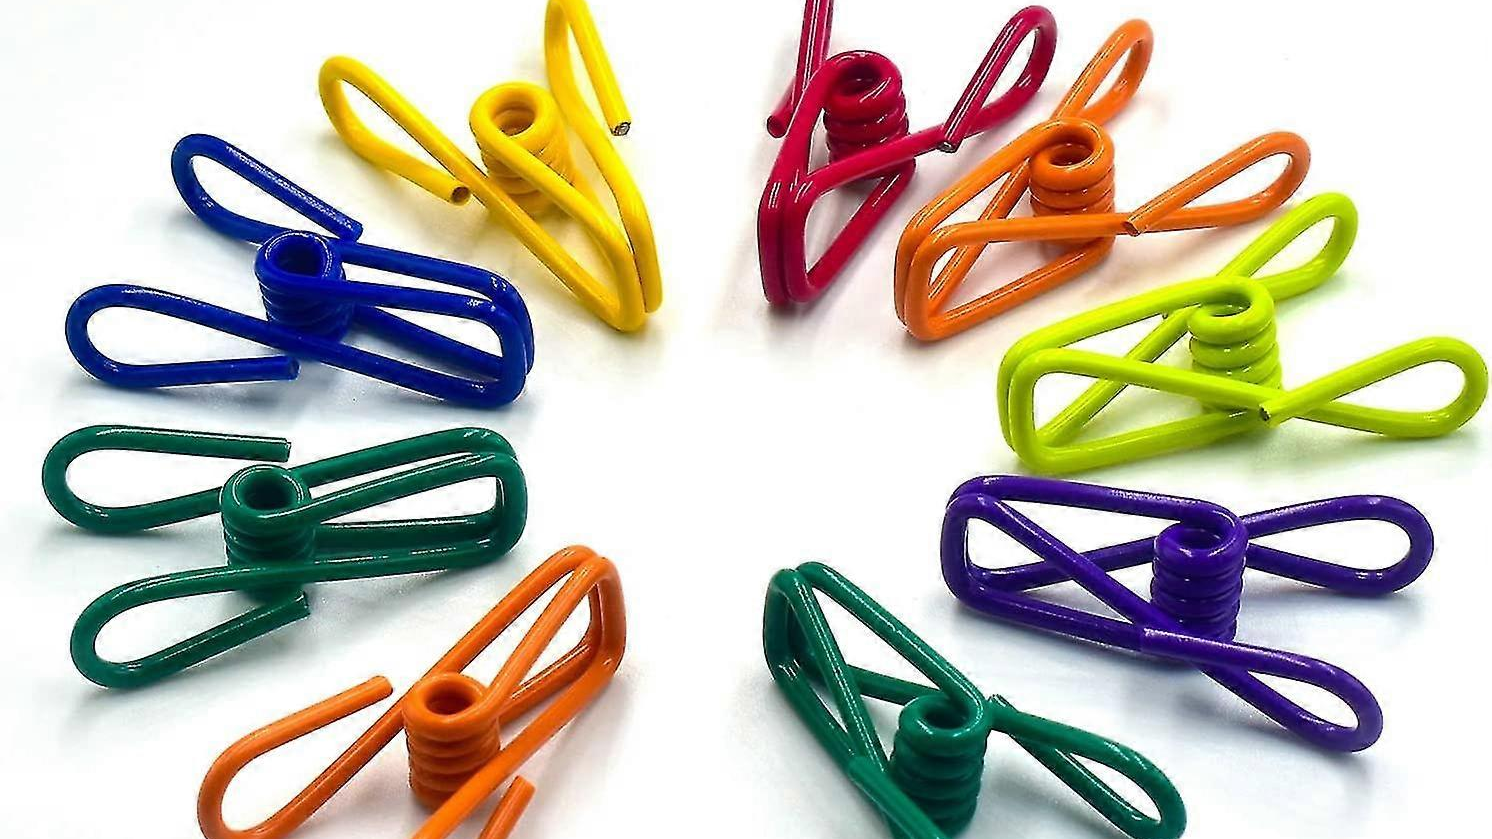
- Metal wave hair clips – light pinch, but test spring strength first
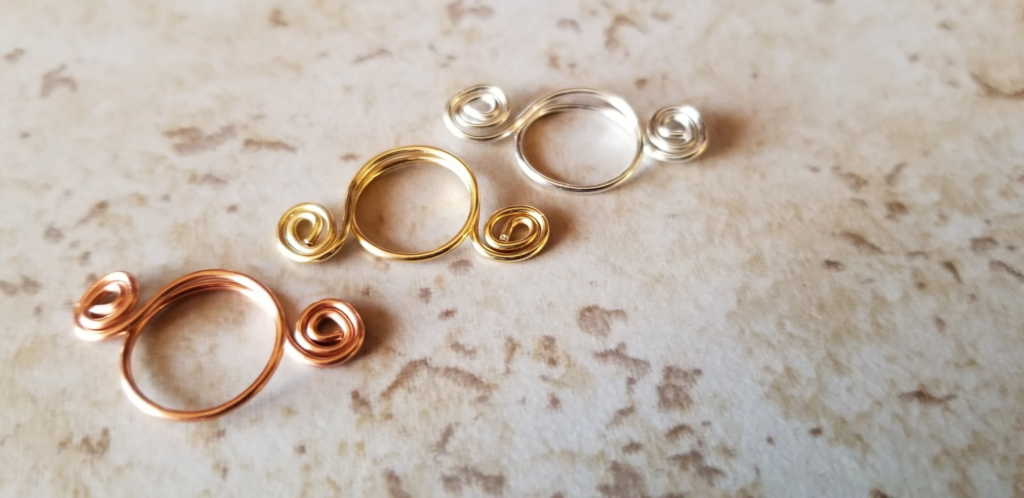
- Spiral wire rings – decorative and gentle if made from soft, body-safe wire
- Bent paperclips – U-shape or spiral for mild pressure (file sharp ends)
- O-rings with string – makeshift noose clamp with adjustable tightness
- Chip bag clips – soft, wide grip; good for beginners and sensory teasing
Safety First — Use Time, Removal, and Aftercare
DIY nipple clamps can be fun and even empowering—but they’re still a form of pressure play. That means you’re working with sensitive tissue and nerve endings, and things can go from exciting to uncomfortable fast if you’re not paying attention. Here’s how to stay safe from start to finish.
How Long Is Too Long?
Everyone’s body reacts differently, but a good rule of thumb is: the stronger the pressure, the shorter the wear time.
- Beginner clamp setups (light pressure): Try 2–5 minutes max the first time
- Medium to tight pressure (e.g. binder clips, tweezers): Limit to 1–3 minutes until you know how your body responds
- Advanced or weighted clamps: 30 seconds to 2 minutes is plenty—don’t try to prove anything
⏱️ Set a timer if you get easily distracted. It’s common to lose track during play, especially with other stimulation happening.
Look out for warning signs like numbness, tingling, or skin that feels cold to the touch. That means the blood flow is being cut off too long, which can lead to bruising or even nerve issues if ignored.
How to Remove Clamps Safely
Taking clamps off can be more intense than putting them on. That’s not a flaw—it’s part of how the body reacts when blood rushes back in. The trick is to remove them slowly and stay present with the sensation.
- Loosen the clamp slowly rather than yanking or tearing it away
- Take a deep breath and exhale as you remove it—helps your nervous system process the sensation
- Remove one side at a time, especially with chain-connected styles
⚠️ If the nipple looks dark purple, mottled, or feels cold, remove the clamp immediately and skip any reapplication until you’re sure circulation is normal.
Aftercare Tips
Even if you only wore clamps for a couple of minutes, your skin and nerves might need a little love. Here’s how to bring your body back to neutral:
- Gently massage the area to restore blood flow
- Apply a warm compress or take a warm shower afterward
- Use a nipple balm, lanolin cream, or aloe-based lotion to soothe any lingering soreness
- Avoid reapplying clamps to the same area for at least 24 hours
🧴 Optional: If you’re doing partner play, check in emotionally too. Some people feel unexpectedly sensitive or vulnerable after clamp use—even if the experience was positive.
Pro Tips From Sex Educators & Toy Testers
You don’t have to be a professional kinkster to enjoy nipple clamps—but it doesn’t hurt to borrow a few tricks from people who are. These tips come from real sex educators, BDSM gear reviewers, and longtime toy testers who’ve learned what works (and what definitely doesn’t).
💡 Start Warm, Not Cold
According to sex educator Gabrielle Kassel, your skin—and especially your nipples—respond differently when you’re already turned on. “Get aroused first,” she says. “Applying clamps to cold skin increases your risk of discomfort, and you’re less likely to enjoy the sensation.”
So: spend a little time with your mouth, fingers, or some teasing licks before clamping down.
🔍 Check the Color, Not Just the Feeling
BDSM toy tester Sandra Larson emphasizes visual checks as much as sensation. “Pain isn’t always the best signal of a problem—watch the color of the skin.” Nipples should stay pink, flushed, or slightly red. If they turn blue, grey, or cold, remove the clamp immediately.
🎯 Pressure Matters More Than Time
Sex coach and Dominatrix Vala Syn notes that many beginners worry too much about how long to wear clamps. “Focus on how tight they are, not just the timer. A clamp with barely-there pressure can be worn for longer, but a firm metal clip? That’s a sprint, not a marathon.”
In other words: adjust intensity, not just your stopwatch.
🧠 Nipple Play Can Trigger Emotional Releases
Kassel points out that nipple stimulation is deeply linked to body memory and emotional energy. “Some people get a rush of endorphins—others feel tenderness or unexpected tears. It’s not always about the pain. Just let your body respond however it needs.”
✅ Pro Tip Roundup
- Always start lighter than you think you need to
- Never leave clamps on without checking in every few minutes
- Keep a mirror nearby if doing solo play—you might not notice color changes otherwise
- Test every clamp on your inner wrist first: if it feels too intense there, skip it for nipple use
DIY vs. Commercial — Which Should You Use?
Making your own nipple clamps is creative, fun, and sometimes the only option. But let’s be honest: DIY gear has limits. Store-bought clamps are designed specifically for body use, meaning they’re usually safer, cleaner, and more adjustable. So, which one should you go with?
Let’s break it down 👇
| Feature | DIY Clamps | Commercial Clamps |
|---|---|---|
| Cost | Free or <$5 with household items | Typically $10–$40+ depending on features |
| Adjustability | Depends on method (limited) | Many are fully adjustable with sliders or tension screws |
| Safety | Varies — higher risk if materials are rough | Designed for skin contact, smoother pressure distribution |
| Durability | Often short-term use | Built to last with quality materials |
| Cleaning & Hygiene | Must be disinfected manually (if possible) | Often non-porous, easy to sanitize between uses |
| Aesthetic Appeal | Rough and homemade-looking (unless decorated) | Stylish designs with chains, feathers, or minimalist looks |
| Special Features | None (unless you get creative) | Chains, vibration, weights, suction, or app control |
- Go DIY if you’re experimenting, curious, or working with budget/access limits. Just play safe and inspect everything carefully.
- Go commercial if you’re serious about nipple play, want adjustability, or plan to use clamps regularly.
Bonus: Many beginner-friendly options (like Lovehoney Tease Me or Bondage Boutique) are affordable and body-safe, and way easier to clean.
Final Thoughts on DIY Nipple Clamps
Whether you’re building clamps from bits and bobs or just testing the waters with a clothespin, DIY nipple play can be a creative, low-cost way to explore new sensations. Just remember: start slow, check in with your body (or your partner’s), and stop if something doesn’t feel right. There’s no one-size-fits-all when it comes to pleasure—and that’s the fun of it.
👀 Ready to level up from homemade gear?
If you want full control, custom pressure, and app-controlled teasing from anywhere in the world, check out the Lovense Gemini vibrating nipple clamps. With built-in motors, adjustable grip, and long-distance control via smartphone, they’re perfect for solo fun, long-distance kink, or any kind if nipple play ideas.
Experiment boldly—but always with care. 💜